
Articles
Storables Acquires Owlhaven
Published: February 19, 2024
Storables acquires Owlhaven, enhancing home organization offerings. This exciting merger promises enriched content on family living and efficiency.
(Many of the links in this article redirect to a specific reviewed product. Your purchase of these products through affiliate links helps to generate commission for Storables.com, at no extra cost. Learn more)

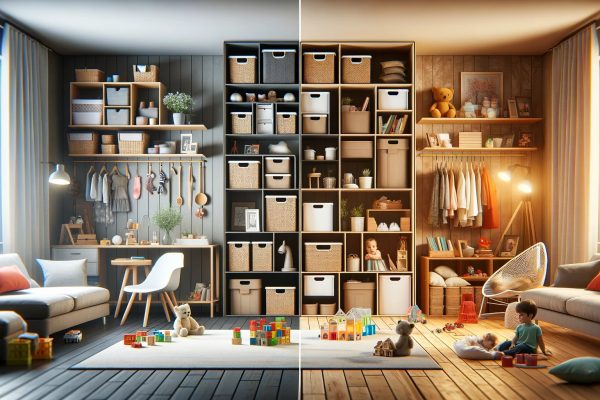
Storables, a key player in the home organization sector, has officially acquired Owlhaven, marking a significant expansion of its portfolio. The acquisition aims to enhance Storables’ influence in the lifestyle and home management arena.
“Joining forces with Storables opens up exciting new avenues for us,” remarked Mary O., founder of Owlhaven, expressing enthusiasm for the future prospects this merger presents. This move is expected to enrich Storables’ content offering, particularly in areas related to family, home organization, and efficient living.
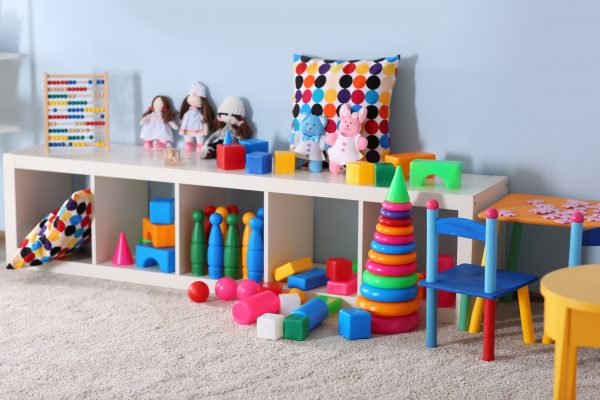
For more storage ideas, please check out our tips and guides: Best Storage Cabinets, Best Foldable Storage, Best Storage Containers For Clothes, Best Produce Storage.
Was this page helpful?
At Storables.com, we guarantee accurate and reliable information. Our content, validated by Expert Board Contributors, is crafted following stringent Editorial Policies. We're committed to providing you with well-researched, expert-backed insights for all your informational needs.


0 thoughts on “Storables Acquires Owlhaven”